Your company logo can be adapted into a stencil as a quick, effective method to increase brand awareness. Marking walls, floors even the street and making simple graphics into promotional items.
- Make sure the area/item you are stencilling is clean and dry
- Check positioning of the entire design
- Lightly mark lines or dots to determine the vertical/ horizontal axis alignment/ positioning of your entire design. Secure if necessary using duct tape tape or low tack masking tape to secure edges if required. If applying to a smoother emulsion surface, you can apply repositioning glue (3M™ Spraymount) by lightly spraying the reverse of stencil. (If your stencil is on the floor or ground it will not usually need taped down)
- Mark out the area where stencil is being applied, checking vertical/horizontal positioning.
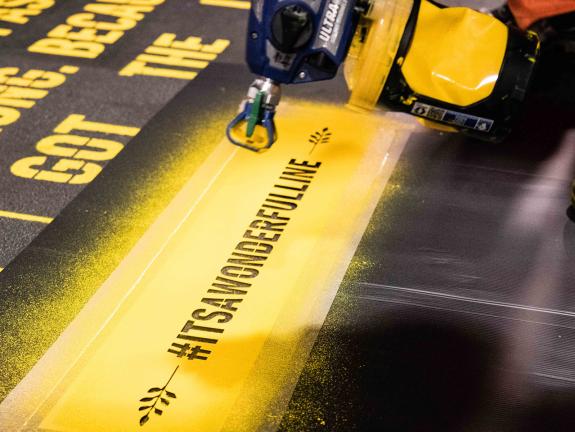
- Keeping the airbrush or can 3” – 4” from stencil, apply light coats building up to desired colour intensity.
- Check your paint tin for instructions on paint thickness/coverage and again apply in multiple light coats.
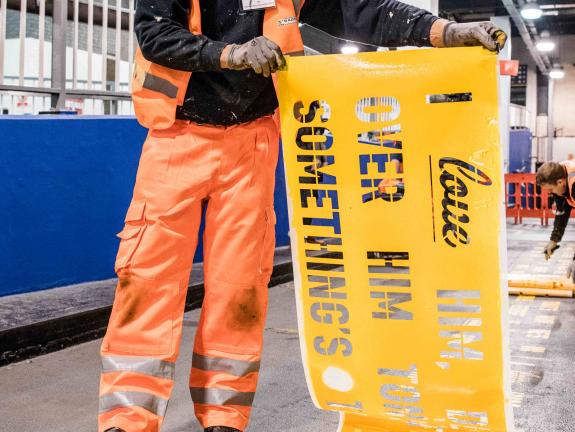
- Once dry and you have completed all your design layers, peel off the stencil
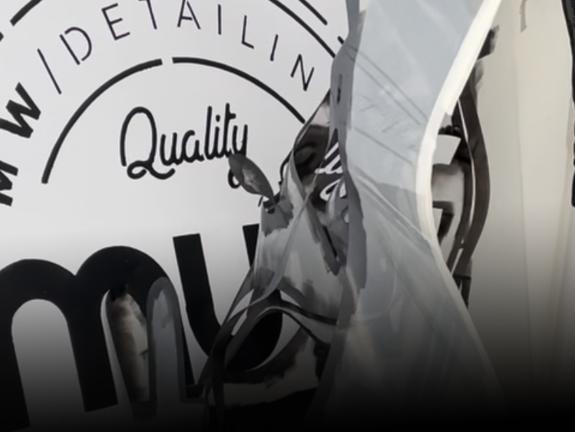
Our stencils are made from 125 or 350 micron (0.125 or 0.35mm) flexible, durable and washable Polyester film and can be used with an airbrush or spray-paint aerosol. They can be stored flat or rolled. (Allow to relax prior to application).