10 Steps to Perfect Stencilling | A How-To Guide
Here's our top 10 step by step list of essentials required to achieve success with wall stencils.
Here's our top 10 step by step list of essentials required to achieve success with wall stencils.
1. Preparation is key
Before beginning any stencilling project, it’s important to ensure you are properly prepared. We would suggest practising with your tools and paints, and where possible testing on your chosen surface. It’s also important to consider your stencilling site and its environment. If stencilling outdoors, use exterior paints and avoid stencilling on a wet and windy day! Ensure you have sufficient space to manoeuvre the stencil into position, and enlist additional help if required.
2. Apply the stencil to a clean, dry and dust free surface
If your stencil surface is not properly prepared then you stencil will not produce a clean, crisp design. It’s always best to clean and dry the surface thoroughly prior to applying your stencil, where possible we would also suggest you test a small area before embarking on the final project.
3. Avoid stencilling on a freshly painted surface
If painting on a freshly painted surface, have patience and allow the paint to dry fully prior to stencilling. The risk when stencilling onto a freshly painted surface is that the glue or tape used to hold the stencil in position may peel away the paint when removed. We always suggest using sensitive or low tack masking tape, taping only where necessary with minimum contact to the surface. We would suggest testing an area prior to stencilling and removing the stencil slowly and with extreme care.
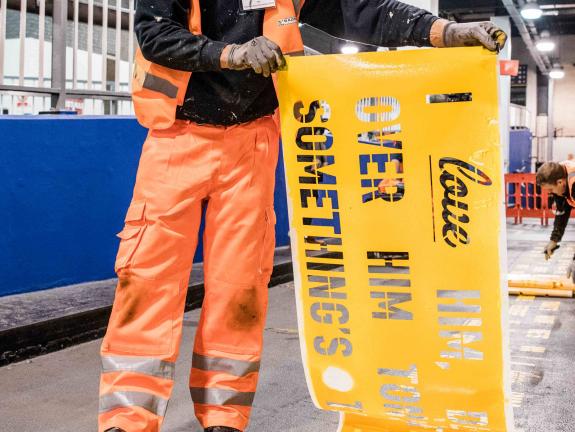
4. Use repositioning glue and/or sensitive, low tack masking tape to keep your stencil in place
Keep your stencil in place by using a combination of masking tape and repositioning spray glue. The repositioning glue will allow you to move your stencil until the perfect position is established. Large or unusually shaped stencils should also be taped at the top and bottom with masking tape. Sensitive or low tack tape is recommended as it shouldn’t remove any paint when it’s removed.

5. Use a spirit level to align your stencil with the straight top edge
A spirit level (or even a spirit level app) can be used to mark registration points, which can then be aligned with the straight top edge of the stencil to ensure your design is level.

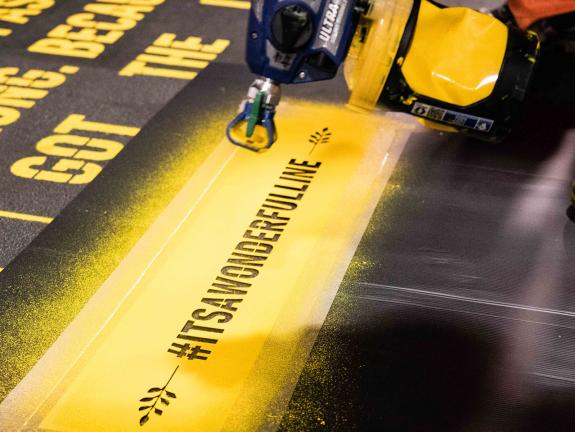
6. Remove excess paint from your brush or roller prior to painting
Don’t overload your brush or roller with paint as the paint may seep under the stencil edges and cause a bleed.

7. Apply repeated thin coats of paint to reduce the chance of a bleed
Better results and a crisper edge will be achieved by applying thin paint coats rather that one thick one, waiting for each layer to dry before applying the next.
8. Remove your stencil before the paint dries completely
By removing your stencil before the paint dries you will achieve a far crisper edge to your design.
9. Touch up your design by hand if required
When creating your stencil, small breaks or bridges may have been required to hold certain parts of your design in place, for example the middle of an O. In most cases stencil breaks don’t interfere with the overall effect of the design however a great tip to remember is that breaks can be filled in by hand after the stencil has been removed.

10. Clean your stencil after use
To ensure your stencil edges remain crisp and ultimately prolong the life of your stencil we recommend you wash the stencil regularly with warm soapy water. Avoid allowing the paint to dry fully on the stencil, as this will make it easier to clean, and remember it’s always best to store your stencils flat or rolled in a loose tube.
If you need any more advice you may want to check out our how to page or there are FAQ on our services page Let's get started.