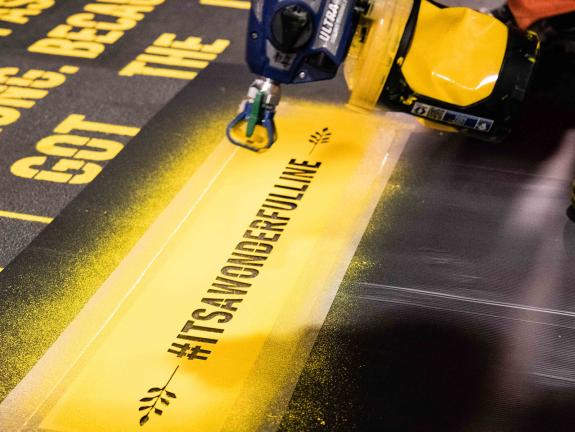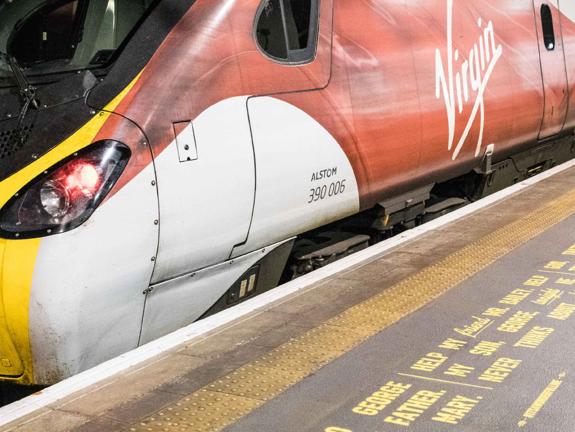
At Laser Cutting Services we specialise in creating custom stencils for various industries, one of which is the painting and decorating sector. From extra-large stencils for ships, helipads and global street art, to branding a company logo for an office space, way-finding stencils, or even painting a decorative stencil for a domestic project, we specialise in handling high volume, complex and logistically challenging stencil projects.


Bespoke stencils are made in varying thicknesses of material depending on the end use of the stencil. We make most of our stencils using polyester film, which is a highly durable and reusable material.
Generally used for large stencils which may need to be separated into various pieces. A light weight material that is easy to hold on the wall, it is reusable providing it is looked after well.
Used for the majority of wall stencils as lightweight enough to be held on the wall, thick enough to be re-used many times when looked after and cost effective.
This thicker polyester film is heavy duty, but still rollable and re-usable.
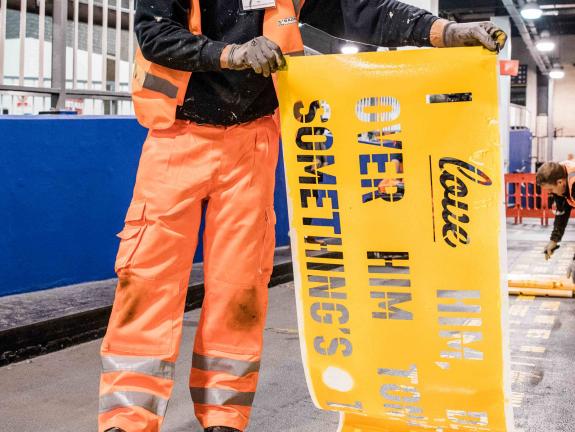
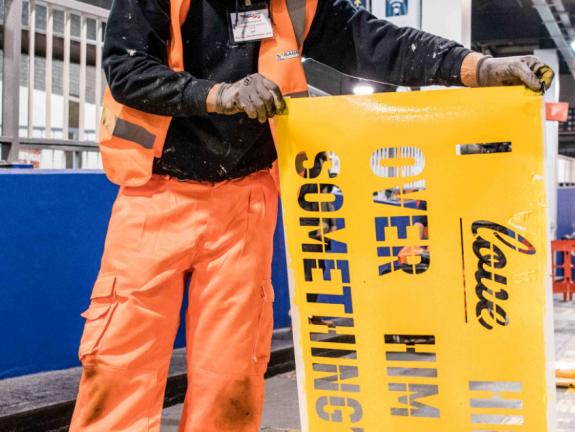
Thick, rigid material which is mainly used for floor stencils but occasionally used for the wall. Also used for replica brick stencils.

Whether you’re using a foam roller, paint brush, or spray paint, there are a few rules of best practice which will help you create the perfect artwork.