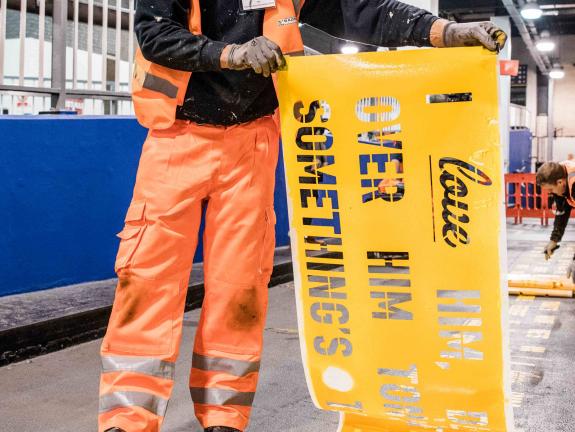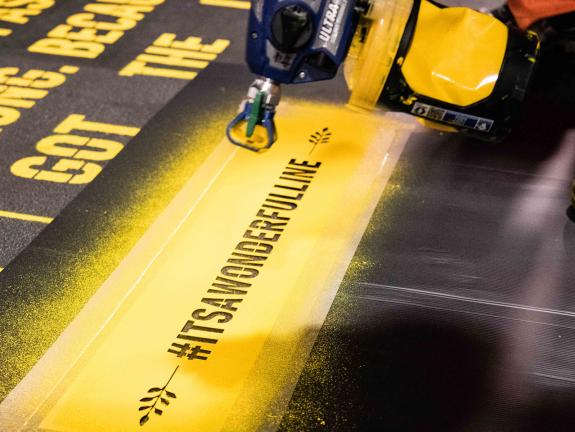
Our Paintmask stencils are supplied with transfer paper on top and backing paper on the reverse. These layers keep the design together while you position it, allowing you to transfer the stencil onto your surface ready for painting.
Below, we explain how to remove the backing, apply the stencil and peel away the transfer paper. You will need a clean, dry surface and a squeegee before you begin.
The blue Paintmask is the stencil itself. The transfer paper, also called application paper, sits over the front of the design. The backing paper protects the adhesive on the reverse. You will remove the backing paper first and the application paper once the stencil is attached to the surface.
Place your stencil face down, with the backing paper facing upwards. Keep the transfer paper in place on the front of the stencil at this stage.
Carefully peel away the backing paper to expose the adhesive side of the blue Paintmask. The stencil should remain attached to the transfer paper, keeping the individual parts of the design in position.

Place the Paintmask onto your clean, dry surface in the required position. With the application paper still covering the design, use a squeegee to press firmly across it so the blue stencil adheres to the surface.
Slowly peel away the application paper, checking as you go that the blue Paintmask remains attached to the surface. Take care around the smaller details so the stencil stays in position as the paper is removed.
Once the application paper has been removed, the blue Paintmask should be attached to the surface with the design exposed. Your stencil is now ready for painting.
For the next stage, read our “How do I prevent paint getting under my stencil or bleedings” guide.

Download your How to apply your paintmask stencil PDF here.
We produce bespoke stencils for lettering, logos and decorative designs. Send us your artwork, approximate dimensions and details of the surface you will be painting, and we can advise on a suitable stencil for your project.
Contact us at www.lasercutit.co.uk/contact/.