Creating high-impact branding at outdoor events or large-scale venues is easier than you think. One of the most effective ways to make a bold visual statement is by using a bespoke extra-large grass stencil. Whether for promotional events, festivals, or corporate marketing, this method delivers striking results.
Start by measuring and marking out your space. Use string to measure the plum line which will identify the exact area your stencil will sit on. This ensures your design is straight and centred – particularly important for logos or lettering.


Lay out your stencil panels in order. For very large stencils, they will come in multiple interlocking sections. Align each piece carefully, using your guides to ensure accuracy. The panels will be numbered to simplify placement.

In certain stencil layouts, spacers may be included to maintain the proper distance between letters or designs, ensuring accurate spacing.


If there's wind or uneven ground, secure the stencil with pegs or place weights at the corners and edges. This helps to avoid shifting while spraying and ensures crisp lines.

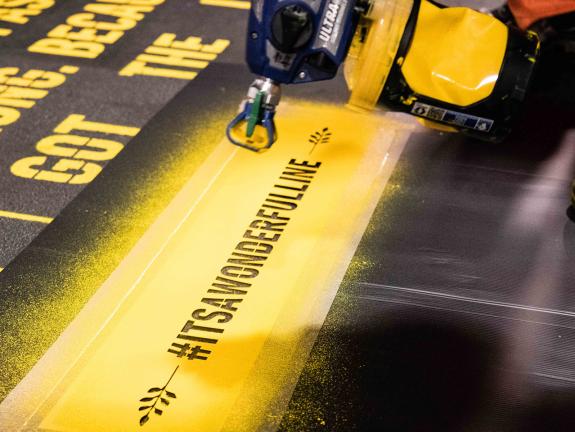
Using a ground-safe spray paint, apply in even, sweeping motions. Hold the can or sprayer at a consistent height. Don’t overload the paint to avoid bleeding – multiple light passes usually yield the cleanest results.

Once dry to the touch, slowly lift each stencil panel. For best results, have team members lift different sections at the same time.

Inspect the edges. If needed, do a light touch-up. The result should be bold, legible, and high-contrast – ideal for photo opportunities and brand exposure.
Get in touch now to create your own show stopping display this summer!