Why use a stencil?
Stenciling a helipad/helideck can be a good solution for both a new installation and refreshing or rebranding a current installation.
Offshore - Refreshing a current installation is common due to heavy use and weathering. Stencils provide a relatively simple way to do this without the need for transporting heavy machinery to the site.
Wind Turbines - These often have helipads or helidecks to gain easy access. Marking these up can be a task once installed, so a quick and easy option is required. The logistics of getting the stencil on site is also a consideration.
Branding helipads - Some helipads require branding for identification, stencils can easily replicate a logo or brand.
Unlimited sizes - There is no maximum size design as each required design can be broken down into manageable stencil pieces.
Materials
25/190 polyester film
- lightweight
- rollable, easy to transport
- generally only used once or twice
- accurate results - can require more
- preparation on un-even surfaces
250/350 polyester film
- for best results use on flat surfaces
- rollable & reusable
polypropylene
- rigid
- compatible with different surfaces
- resuable
- very quick application
Surfaces and materials
Helipads/Helidecks can have different surfaces. Luckily we can produce stencils in a variety of materials to suit your surface, desired finished effect and needs.
Your surface is - Smooth/flat
- All types of material are compatible
- The difference will depend on logistics and useage
Your surface is - Uneven and/or gritty
- For sharp results our 125 micron polyester film cut with anchor points will work well
- We also recommend hand cutting the stencil where it sits on the ground unevenly and then covering the holes with tape so the stencil lies flush
- A rigid polypropylene stencil will also work well, which is reusable. Care should be taken when applying the paint to produce accurate results.
- Helipads/Helidecks can have different surfaces. Luckily we can produce stencils in a variety of materials to suit your surface, desired finished effect and needs
Others factors which influence material include size of design, intended accuracy, curved surfaces, experience of those applying, intended transport to site and how many times the stencil will be re-used.
Process
Once your design and material have been finalised, the following process will be followed.
- Proof approval - this is where we will send you a proof of the artwork as a stencil with dimensions attached to be approved before we cut it.
- The production team will then cut each piece of the stencil in a sequence, which is then labelled, crosschecked and packed
- A handy copy of the layout will be included for your reference
- The stencil is either rolled of packed flat depending on material and shipped on a next day delivery service (may vary depending on location)


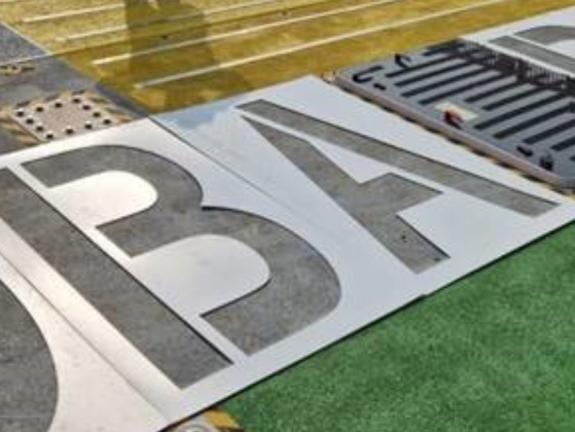
How to use a helipad/helideck stencil
On a flat surface, application is straight forward. Below we have demonstrated application on a gritty uneven surface where it can be more challenging but certianly still possible.
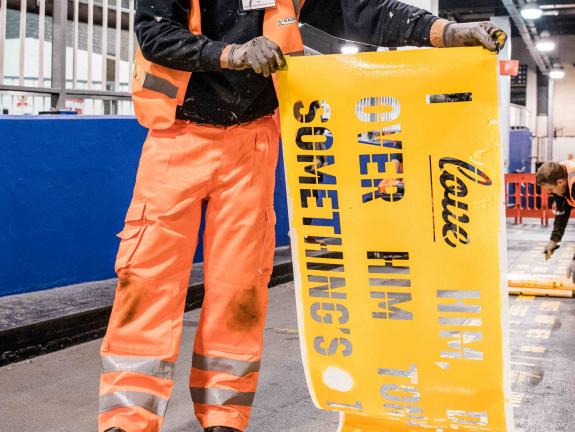
Application using Polyester film
- Lightweight 125 micron polyester film
- The surface is gritty and uneven which is preventing the stencil from sitting flush, which is important for a sharp edge
Cut out the part of the stencil which is not sitting flush and cover it with masking tape
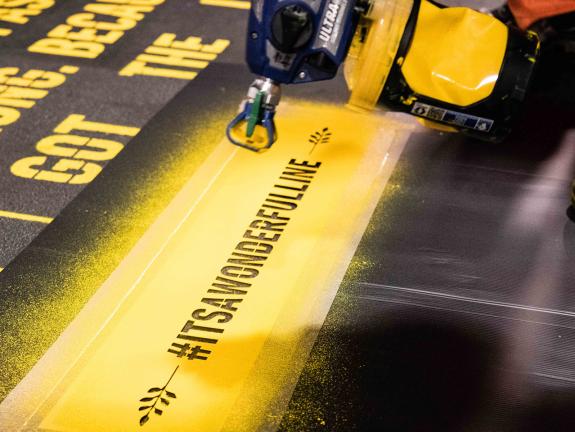
- Anchor points have been laser cut in the stencil and held down with masking tape to help the stencil lay flat and stay in position while being painted
- Use a roller to apply the paint
- Get rid of any excess paint on the side of the stencil and roll away from the edges of the stencil to avoid bleed
- Less is more, build paint gradually
- Once dry remove the stencil slowly


Application using Polypropylene
- 2mm rigid polypropylene
- Can be re-used many times if stored and cleaned well
- The surface is uneven and gritty so care in application is key
- Remove excess paint on the roller before you start
- Weighted bags to keep stencil in position might be considered
- Roll away from the edges of the stencil to avoid bleed
- Build layers gradually
- Once dry, remove the stencil slowly
- This method is less time consuming than its lighter counterparts


Download the Helipad / Helideck Stencils case study as a PDF.